
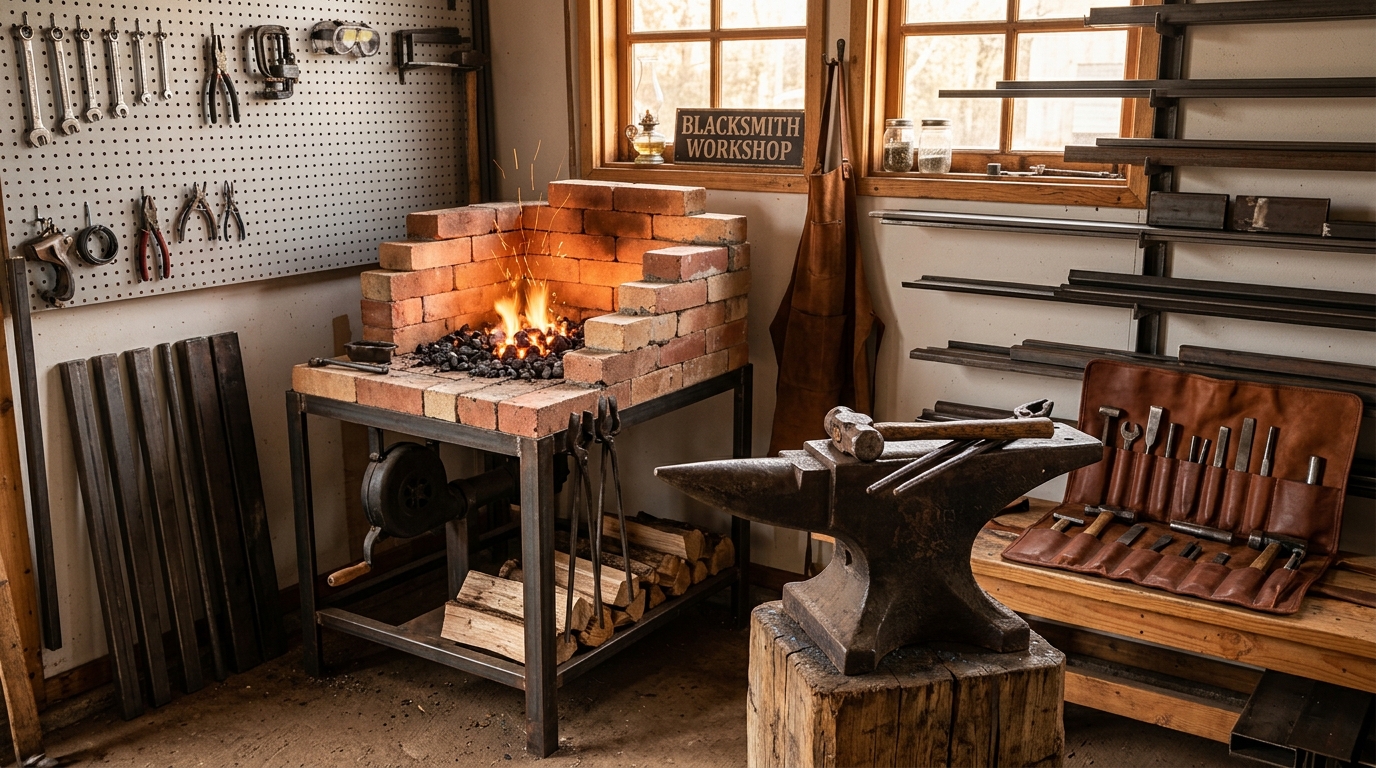
The dream of heating raw iron to cherry red and shaping it with a hammer is one of the most rewarding pursuits in manual crafts. Yet, many aspiring smiths are intimidated by the perceived costs and hazards of setting up a functional home workshop. With proper planning, refractory materials, and strict safety guidelines, anyone with basic DIY skills can construct an efficient, high-performance home forge.
1. Propane vs. Solid Fuel: Choosing Your Thermal Architecture
The first critical decision in designing your home smithy is selecting your primary fuel source. Both atmospheric venturi propane burners and metallurgical coal firepots have distinct advantages depending on your location, neighborhood zoning, and workspace layout.
Atmospheric Propane Gas Forges: For most suburban and garage-based makers, propane is the cleanest, most controllable option. A well-insulated dual-burner propane chamber creates zero external smoke, reaches forging temperatures (1,800°F to 2,200°F) in under ten minutes, and allows consistent oxidation control through the air-choke plate.
Solid Fuel (Bituminous Coal & Charcoal): Traditionalists often prefer the raw thermal punch of bituminous coal or hardwood lump charcoal. Solid fuel allows localized heat concentrates, meaning you can heat a two-inch section of a long steel bar while keeping the remainder cool enough to handle with bare hands. However, coal generates heavy sulfur smoke during green coking and produces clinkers that require regular firepot cleaning.
2. Constructing the Refractory Fire Chamber
If you choose to build a propane gas forge, thermal efficiency and lung safety depend entirely on your refractory shell insulation. A standard cylindrical casing fashioned from an empty 20 lb steel propane tank or an 8-inch spiral-duct pipe serves as an ideal exterior body.
The internal lining requires two inches of high-density ceramic wool rated to at least 2,400°F (such as Kaowool or Inswool). Crucial Safety Warning: Exposed ceramic blanket fibers release airborne microscopic silicate particulates when heated, posing severe respiratory hazards. You must rigidize the blanket with colloidal silica and coat the entire inner perimeter with a 1/4-inch layer of refractory castable mortar (such as Kast-O-Lite 30 LI) followed by an infrared reflective sealant (such as ITC-100 or Plistix).
🔧 Essential Workbench Parameters & Blueprint Specs
Minimum insulation thickness sealed with castable mortar.
Stand straight; top of anvil should align with your closed fist.
Distance between Forge, Anvil, and Quench Tank.
3. Securing Your First Anvil and Stand
The anvil is the energetic heart of the blacksmith's shop. While antique cast-steel London-pattern anvils (such as Peter Wright or Hay-Budden) command premium prices, beginners have several economical options. A 50-to-70 lb drop-forged alloy steel anvil (such as 4140 cast tool steel) or a length of heavy railroad track milled with a flat crown and stepped horn offers incredible rebound efficiency.
Mounting height is paramount for joint preservation. Stand upright with your arms hanging naturally at your sides and form a loose fist; the top face of your anvil should sit precisely at your knuckle height. Secure the anvil to a solid timber tripod stand (such as laminated white oak or a dry cedar stump) using silicone adhesive underneath the base and heavy steel hold-down straps. The silicone absorbs high-frequency vibrations, transforming ear-piercing ringing into a dull, workshop-friendly thud.
4. Fire Safety, Ventilation, and Personal Protective Equipment
Blacksmithing operates in an environment of extreme thermal energy, flying scale, and rapid air displacement. Never compromise on workshop safety infrastructure:
- Fire Suppression: Keep a 10 lb Class ABC dry chemical extinguisher and a 5-gallon metal slack tub filled with water within arm's reach of the forge.
- Adequate Ventilation: Gas combustion consumes oxygen and produces carbon monoxide. Always install a dual-head battery-operated CO monitor and ensure cross-ventilation or an active side-draft hood.
- PPE: Wear wrap-around ANSI Z87.1 safety glasses, heavy natural-fiber denim or cotton clothing (avoid synthetic nylon or polyester that melts to skin), steel-toed leather work boots, and ear protection. Use a tight-fitting leather glove only on your stock-holding hand; never wear a loose glove on your hammer hand to maintain grip sensitivity.
5. Your First Practice Project: The Forged S-Hook
Once your forge is cured and your anvil is secured, resist the urge to immediately tackle a complicated knife blade. Begin by heating a 10-inch piece of 3/8-inch square mild steel bar (A36). Practice the fundamental movements: drawing out a square taper on the anvil face, rounding the taper over the horn, scrolling the tip, and twisting the central shank at a bright orange heat (1,900°F).
Forging simple decorative S-hooks teaches hammer accuracy, heat recognition, and anvil positioning. When you can consistently forge identical, clean hooks with crisp geometric symmetry, you have laid the bedrock for a lifetime of rewarding metalworking mastery.